HOW TO MOVE A DRESSER WITH MIRROR – PACKING and LOADING
For dressers with mirrors, use the tools from your command center to remove the mirrors, which are held on by slats that connect the mirror to the rear of the dresser. Figures 9.1, 9.2, and 9.3 show how to ‘disassemble’ a dresser mirror.
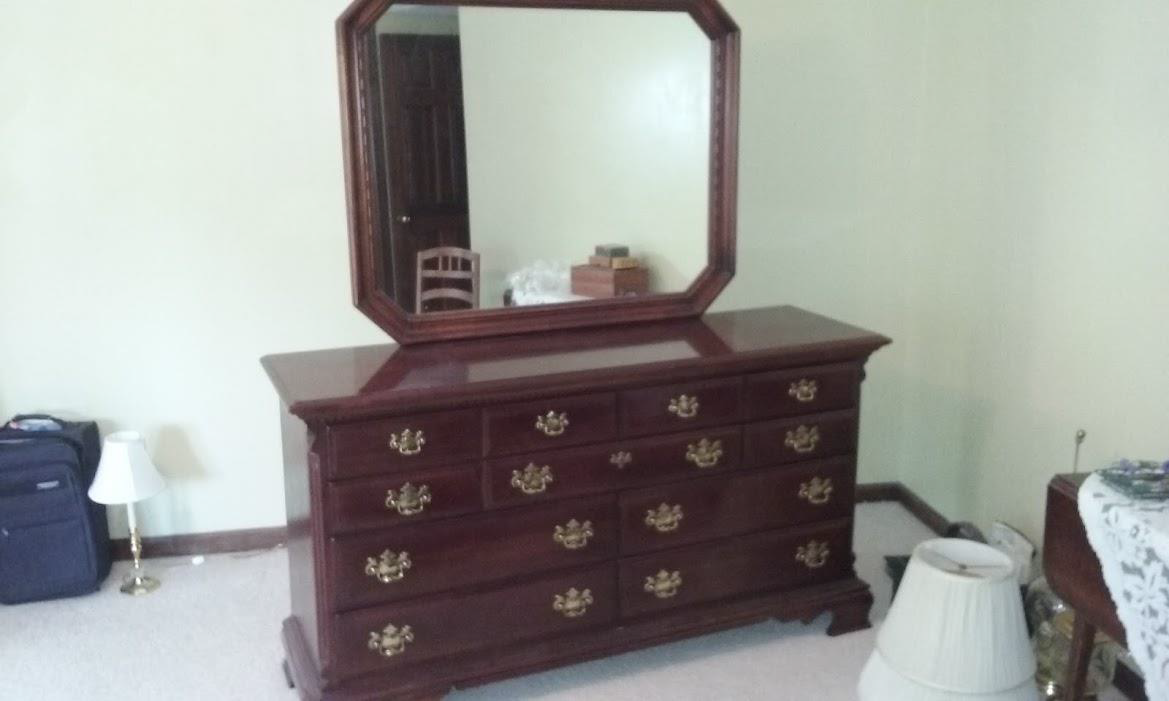
Figure 9.1 – Dresser with Attached Mirror
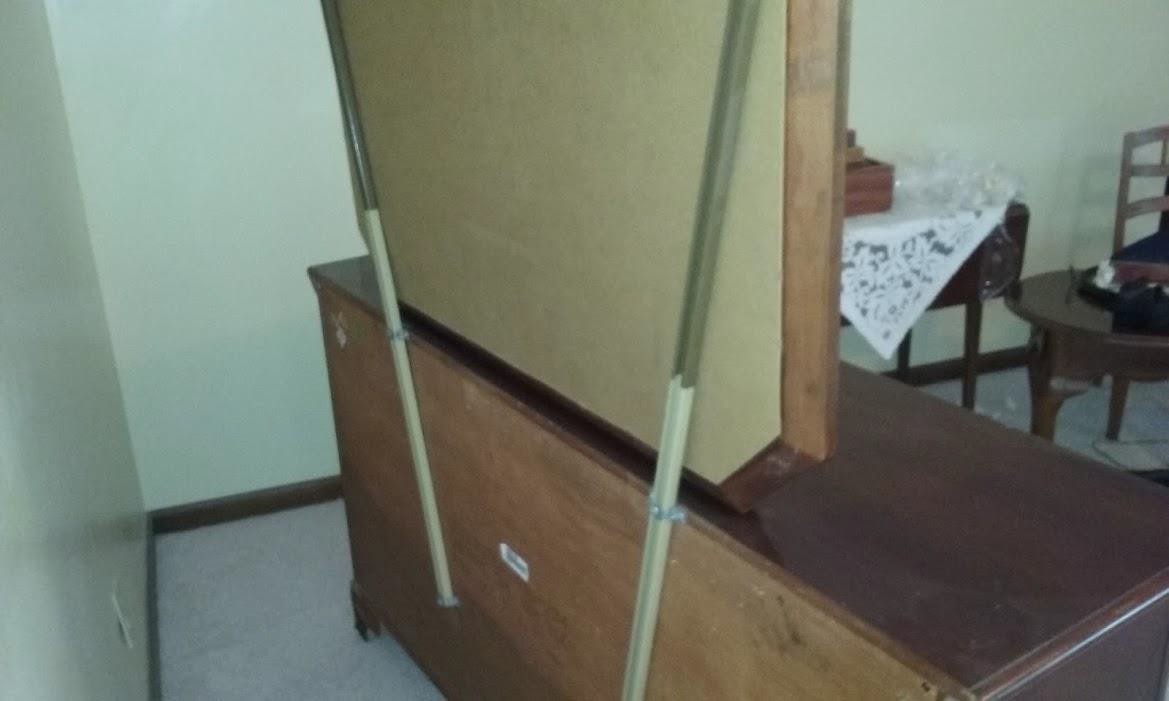
Figure 9.2 Disconnecting Mirror from Dresser
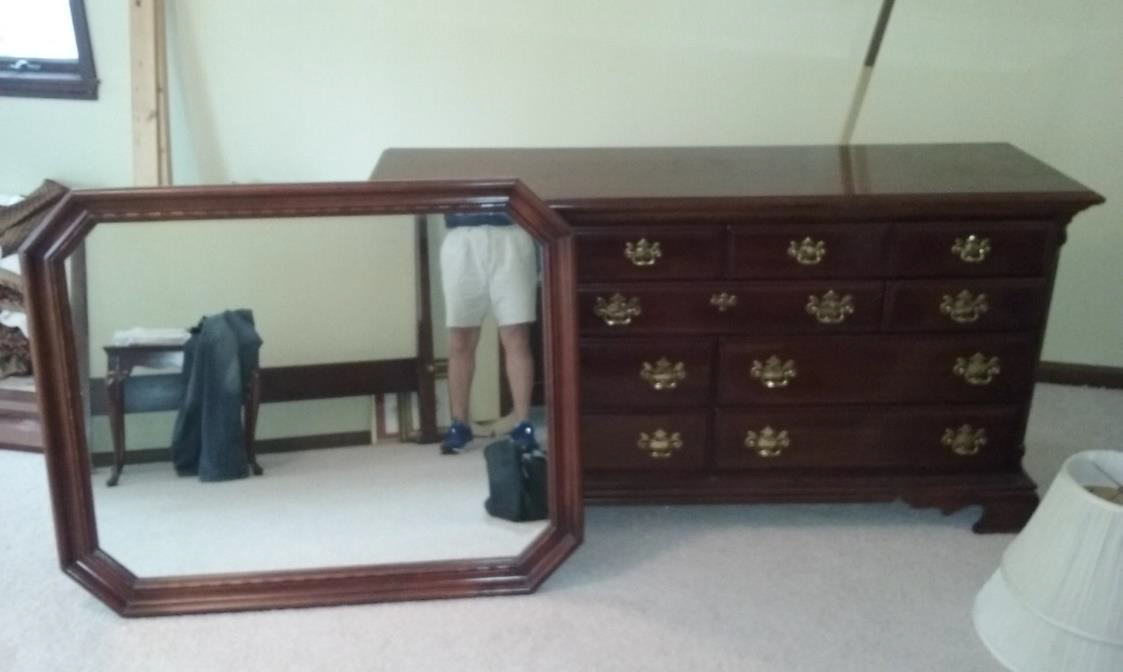
Figure 9.3: Disassembled Dresser
Be sure to use the Furniture Disassemble/Reassemble spreadsheet – TAB 7, to record all the dressers/mirrors that you disassemble, including tools used and loose parts. Place screws from the slats that hold the mirror into a plastic sandwich bag, and tape the bag inside one of the top drawers. Use of the plastic roll to bind together the slat after unloading at the new residence. Dresser mirrors are best packed using the specialty box called the “Mirror Pack”, or “Mirror Box.” This box consists of four ‘corner’ pieces that overlap to enclose the mirror. Figure 9.4 below shows the mirror being placed inside 2 of the 4 corners of the box. 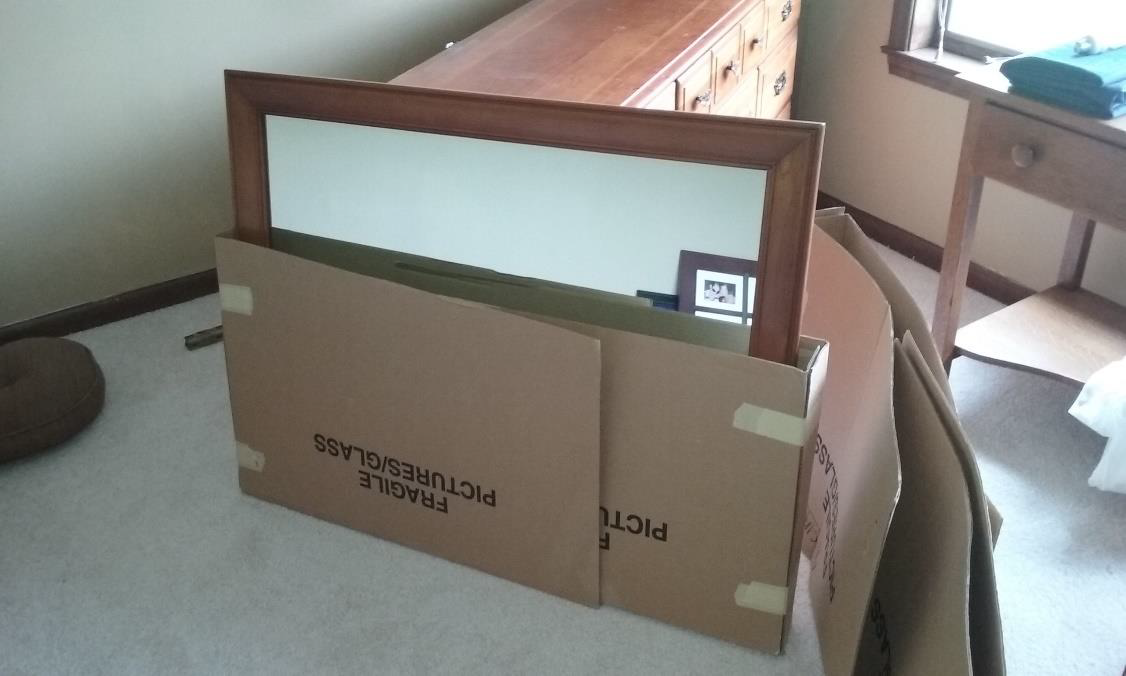
Figure 9.4 – Partial Mirror Pack
The other two corner pieces will cover the top. The mirror pack has a special cardboard insert that folds up as shown in Figure 9.5. 4 inserts are used for each box, one along each edge of the mirror. The inserts cushion the mirror. If your store does not offer inserts, you can make some by simply folding up a piece of cardboard. 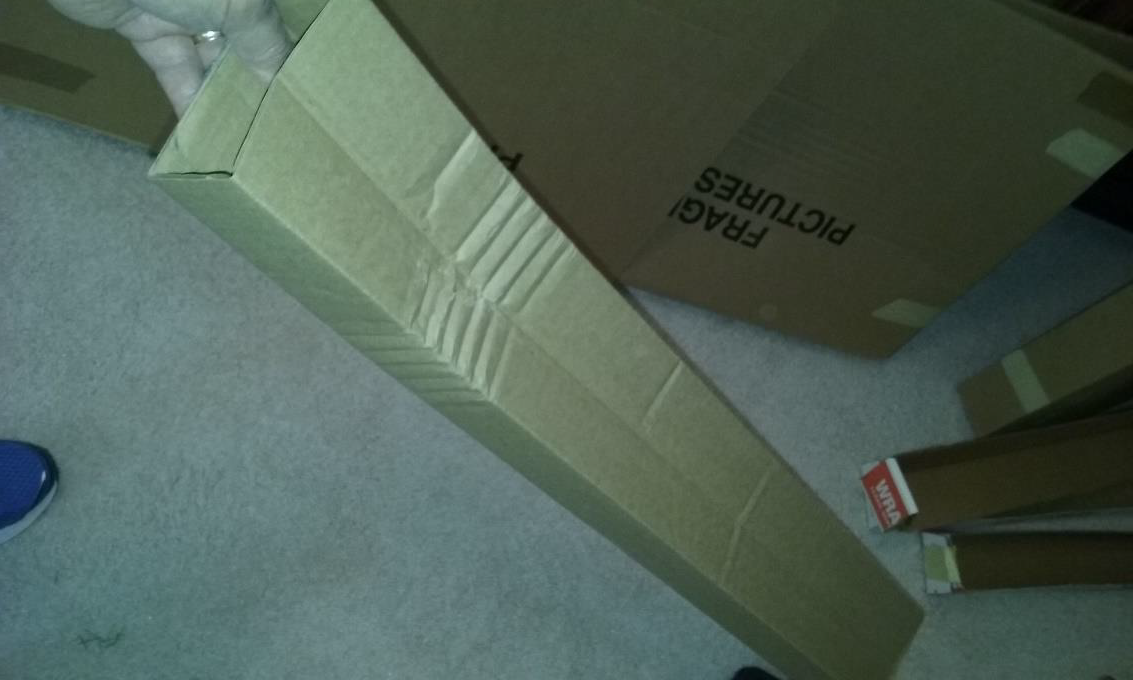
Figure 9.5 – Mirror Pack Cushion Insert
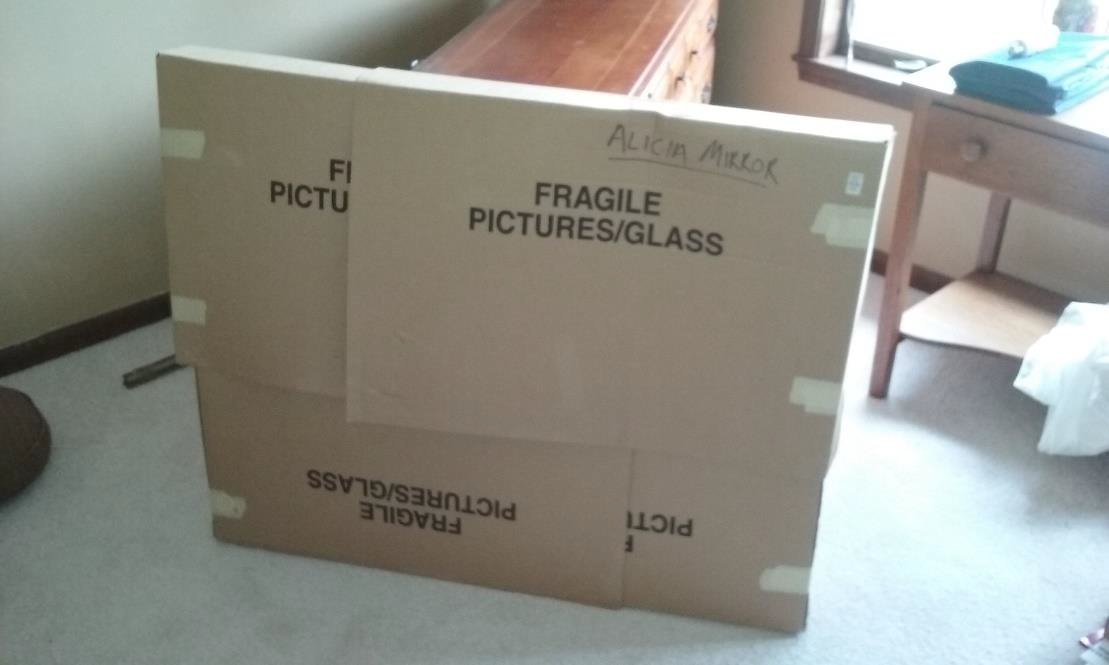
Figure 9.6 – Completed Mirror Pack
Once the inserts are in, and the 4 corner pieces are in place, the completed Mirror Pack will look like the picture in Figure 9.6. Go ahead and wrap the plastic stretch wrap around the mirror pack to keep the four pieces together as one unit.
You Tube Video Reinforcement: Using a Mirror Pack
How to Pack Pictures and Glass
Movers-Moving.NetPadding Dressers on the Truck
I typically use two pads for a dresser. Once on the truck, slide the drawers back into the dresser if they were removed to move it. Face the dresser toward the tier, then drape one pad from the left side to the middle, as shown in Figure 13.6. The top of the pad will fold along the top of the dresser. The second pad is then draped from the right side also to the middle, folding along the top. When complete, the top, front, and sides of the dresser will be covered by pads.
The back of the dresser can remain uncovered. With the dresser fully padded, slide it into position on the truck at the bottom of a tier.
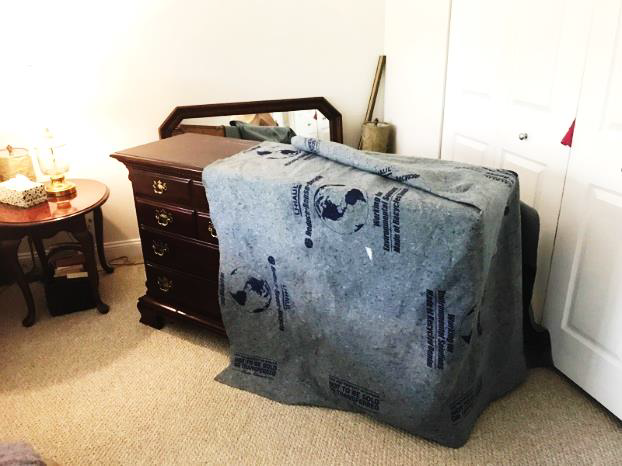
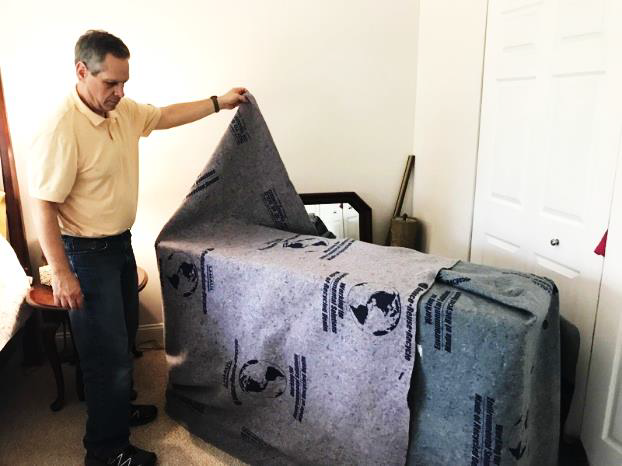
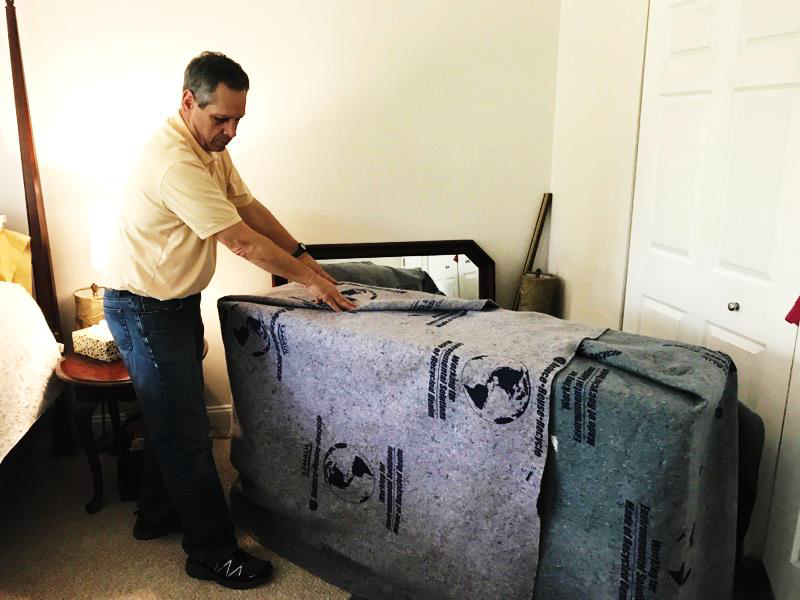
Figure 13.6: Padding a Dresser
You Tube Visual Reinforcement: Padding a Dresser
